


Most coaches pick one way to start a sprint and stick with it for years. It works well enough, the athletes know the drill, and changing it feels like unnecessary friction.
But the start method isn't just a preference. It shapes what the data actually means. Change the start and you change what you are measuring, even over the same distance. Overlook it and the numbers become hard to trust, hard to compare, and hard to act on.
The right timing gate setup supports more starting configurations than most coaches realize. This guide breaks down every one of them: what it measures, how to set it up, and when it belongs in your testing toolkit.
Why the Start Method Matters
How a sprint starts affects the recorded time, even when the athlete's effort doesn't change. The start you choose determines what quality you're measuring. How consistently you execute it determines whether the data is accurate and repeatable. Pick one and hold it.
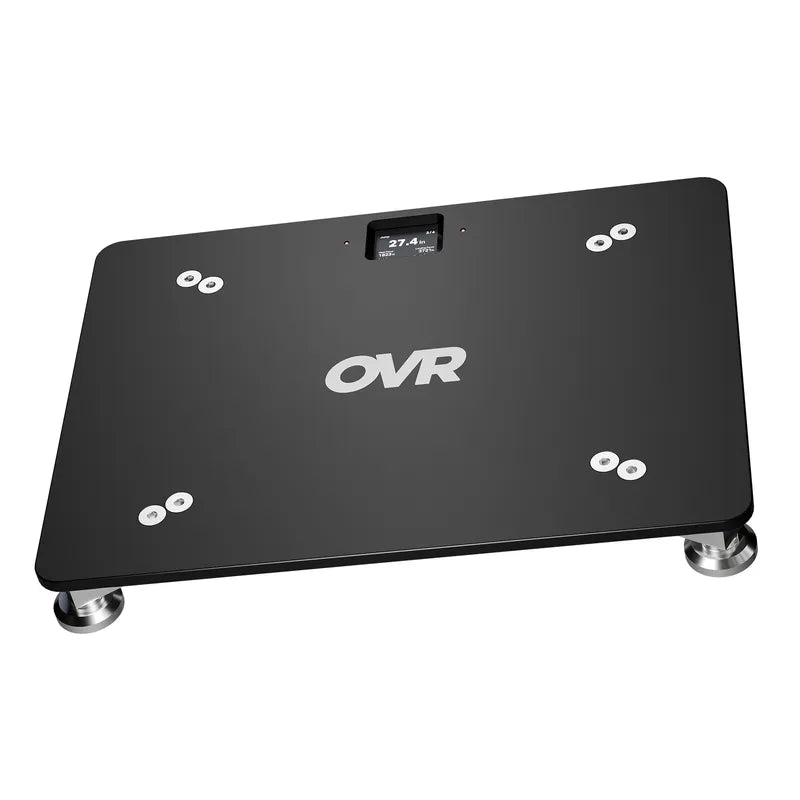
OVR Sprint supports three on-device settings, two of which, In-Beam and Trigger, combine with how the athlete approaches the gate to cover most starting scenarios below.
Category 1: Flying Starts
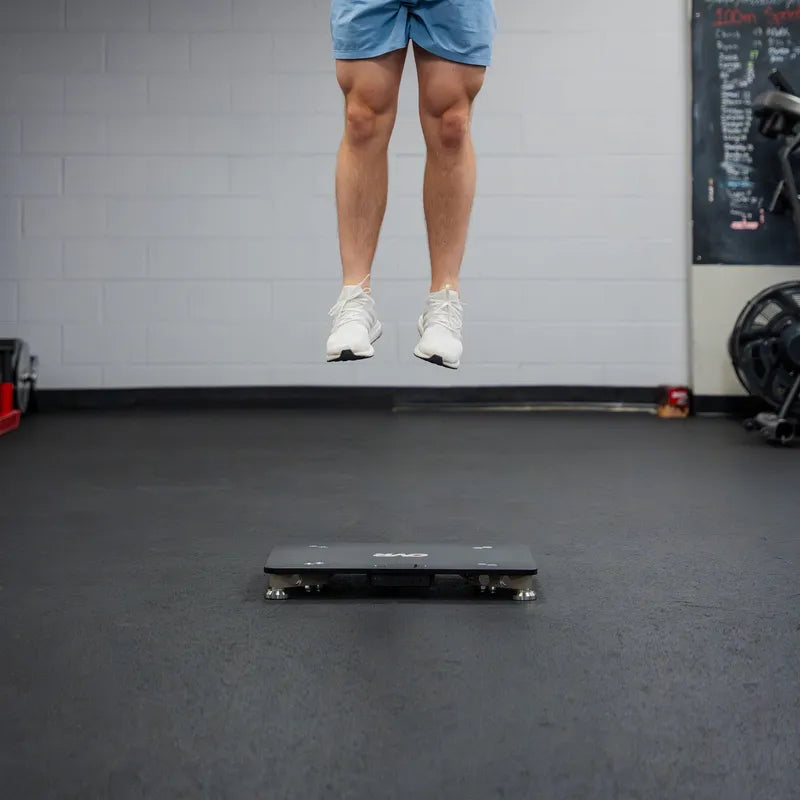
The athlete is already moving when they hit the beam. No initialization needed, no button to press. The clock starts automatically the moment the beam breaks.
OVR Sprint setting: In-Beam OFF, Trigger OFF.
1A. Flying Start: Acceleration Zone
The athlete starts from rest and accelerates into the beam, hitting it while still in their drive phase. A short offset of 1 foot to 1 yard is enough to avoid false triggers from arm swing or knee lift. Push that build-up to 5 to 20 yards and you're measuring later stages of acceleration.
What it measures: Speed during the acceleration phase.
Setup note: Mark the starting position every time. An inconsistent start distance is one of the most common sources of bad data.
Best for: Team sport athletes and acceleration-focused testing where a static start isn't practical.
1B. Flying Start: Top Speed Zone
The athlete builds up enough distance to reach or approach top speed before the clock starts. Build-up distances typically range from 20 yards for younger athletes to 40 to 65 yards for advanced sprinters.
What it measures: Top-end speed, with the acceleration phase removed from the equation.
Best for: Track and field athletes and any program focused on measuring maximum velocity.
Category 2: In-Beam Starts
The athlete's body part is already breaking the beam at rest. The clock fires the instant that body part clears and the beam is restored, tying the start precisely to first movement.
How to initialize: Block the beam for 1 second. All units beep and lights turn orange. The clock starts when the athlete moves.
OVR Sprint setting: In-Beam ON, Trigger OFF.
2A. Standing Start: Front Foot In-Beam
Body position: Upright staggered stance, front foot at the beam.
Gate setup: Place the units on the ground to align with the athlete's front foot in their starting position.
What it measures: The clock starts when the front foot clears, after initial weight transfer has already begun, meaning the athlete has a split second of momentum before timing starts.
Some athletes take a false step, where the front foot steps backward before they drive forward. That clears the beam early, so it is worth standardizing across your group.
Best for: Standardized acceleration testing in team settings.
2B. Standing Start: Back Foot In-Beam
Body position: Upright staggered stance, rear foot at the beam.
Gate setup: Place the units on the ground to align with the athlete's rear foot in their starting position.
What it measures: The clock starts on the first moment of forward movement, before any momentum has built, producing slightly slower times than front foot triggering.
A false step, as mentioned previously, is less of a factor here since the front foot is not in the beam.
Best for: Testing acceleration from the first moment of movement.
2C. Three-Point Stance: Hand In-Beam
Body position:
- Feet staggered, dominant foot forward
- Front knee bent to approximately 90 degrees
- One hand down, breaking the beam
- Opposite arm loaded back, ready to drive
- Hips loaded, weight slightly forward
What it measures: Acceleration from a sport-specific position that loads the hips and promotes a strong forward drive out of the gate.
Gate setup: Place the units on the ground to align with the athlete's hand in their set position.
Setup note: Use a tape line on the ground to mark hand placement. Inconsistent hand position means inconsistent data.
Best for: Football combines and any sport where explosive acceleration from a low starting position is relevant.
2D. Four-Point Stance: Hand In-Beam
Body position:
- Both hands down, one in the beam
- Knees bent, hips loaded and elevated
- Head and neck neutral
What it measures: Acceleration from a deep crouched position. The lower, more symmetrical stance compared to a 3-point start can influence hip angle and first-step mechanics.
Gate height: Place the units on the ground and set the beam to hand height in the set position.
Best for: Track athletes replicating a block start position, offensive and defensive linemen, and any sport where a deep crouched starting position is used.
Category 3: Trigger Starts
The coach presses a button on the Home device. OVR Sprint beeps, the athlete reacts and sprints. Reaction time is included in the recorded result. The athlete can start from any distance behind the gate, making this flexible for short bursts or longer sprints.
OVR Sprint setting: In-Beam OFF, Trigger ON.
3A. Standing Start + Trigger
Athlete stands behind the gate at whatever distance the test requires. Coach fires the trigger. Athlete reacts to the beep and sprints.
What it measures: Total sprint time including reaction time, from beep to finish. For sports where reacting to a signal is part of the game, this is a more complete picture of starting performance.
Best for: Any test where reacting to a signal is part of the performance.
3B. Three-Point Stance + Trigger
Athlete loads a 3-point stance behind the gate. Coach fires the trigger.
What it measures: Sprint time including reaction time from a sport-specific body position.
Best for: Combine simulation and testing that mimics a snap count or whistle start.
3C. Four-Point Stance + Trigger
Athlete loads a 4-point stance behind the gate. Coach fires the trigger.
What it measures: Sprint time including reaction time from a low crouched position.
Best for: Lineman testing and track athletes simulating a block start with an audible cue.
Category 4: Combined Starts (In-Beam + Trigger)
Combining the in-beam start with the trigger gives you two pieces of information from a single rep: reaction time from beep to beam-clear, and total sprint time to the finish. No additional equipment or separate testing needed.
OVR Sprint setting: In-Beam ON, Trigger ON.
Setup:
- Athlete gets into position with the relevant body part breaking the beam
- Block the beam for 1 second to initialize; gates beep and turn orange
- Coach presses the trigger
- Athlete reacts and drives out
4A. Standing Start: In-Beam Trigger
Front or back foot in the beam. Coach fires the trigger.
What it measures: Reaction time from beep to foot lift, followed by full sprint time to the finish. Two data points from one rep.
Best for: Capturing both reaction time and acceleration data without running separate protocols.
4B. Three-Point Stance: Hand at Beam + Trigger
Hand in the beam, coach fires the trigger to simulate a snap count or starting signal.
What it measures: Reaction time from beep to hand lift, plus full sprint time to finish.
Best for: Football combines and programs separating reaction speed from acceleration.
4C. Four-Point Stance: Hand at Beam + Trigger
Same as 4B from a 4-point stance.
Best for: Lineman testing and block start simulation where both reaction time and drive phase are being evaluated.
Quick Reference
| Start Type | In-Beam | Trigger | What It Measures |
|---|---|---|---|
| Flying start, acceleration zone | OFF | OFF | Speed during drive phase |
| Flying start, top speed zone | OFF | OFF | Top-end speed |
| Standing, front foot in beam | ON | OFF | Acceleration after initial weight transfer |
| Standing, back foot in beam | ON | OFF | Acceleration from first moment of movement |
| 3-point, hand in beam | ON | OFF | Sport-specific acceleration |
| 4-point, hand in beam | ON | OFF | Low-stance acceleration |
| Standing + trigger | OFF | ON | Sprint time including reaction time |
| 3-point + trigger | OFF | ON | Sprint and reaction, combine-style |
| 4-point + trigger | OFF | ON | Sprint and reaction, block or lineman start |
| In-beam trigger, standing | ON | ON | Reaction time and acceleration |
| In-beam trigger, 3-point | ON | ON | Reaction time and acceleration |
| In-beam trigger, 4-point | ON | ON | Reaction time and acceleration |
The Rule That Applies to All of Them
Whatever configuration you use, the data only holds up if the setup is exactly the same every session. Gate height, starting position, beam placement, and body position all affect the result. A great start protocol run inconsistently reduces confidence in progress.
Whichever method you choose, consistency is most important. If setup time and ease of use is the priority, we recommend the flying start with a short lead.
Sources
-
Haugen, T., Buchheit, M. Sprint Running Performance Monitoring: Methodological and Practical Considerations. Sports Medicine, 46(5), 641–656. 2016.
-
Haugen, T., Tønnessen, E., Seiler, S. The Difference Is in the Start: Impact of Timing and Start Procedure on Sprint Running Performance. Journal of Strength and Conditioning Research, 26(2), 473–479. 2012.
-
Haugen, T., Tønnessen, E., Hisdal, J., Seiler, S. The Role and Development of Sprinting Speed in Soccer. International Journal of Sports Physiology and Performance, 9(3), 432–441. 2014.
-
Frost, D.M., Cronin, J.B. Stepping Back to Improve Sprint Performance: A Kinetic Analysis of the First Step Forwards. Journal of Strength and Conditioning Research, 25(10), 2721–2728. 2011.
-
Johnson, S., Healy, R., Kenny, I.C., Norris, M. Increased Sprint Performance with False Step in Collegiate Athletes Trained to Forward Step. Sports Biomechanics, 21(8). 2022.
-
National Strength and Conditioning Association. Sprinting Mechanics and Technique. NSCA Kinetic Select. 2018. https://www.nsca.com/education/articles/kinetic-select/sprinting-mechanics-and-technique/
-
Haugen, T., Seiler, S., Sandbakk, Ø., Tønnessen, E. The Training and Development of Elite Sprint Performance: an Integration of Scientific and Best Practice Literature. Sports Medicine Open, 5(1), 44. 2019.
-
Barber, E. The Three-Point Start. Track and Field News, Track Coach. 2019. https://trackandfieldnews.com/track-coach/the-three-point-start/


