
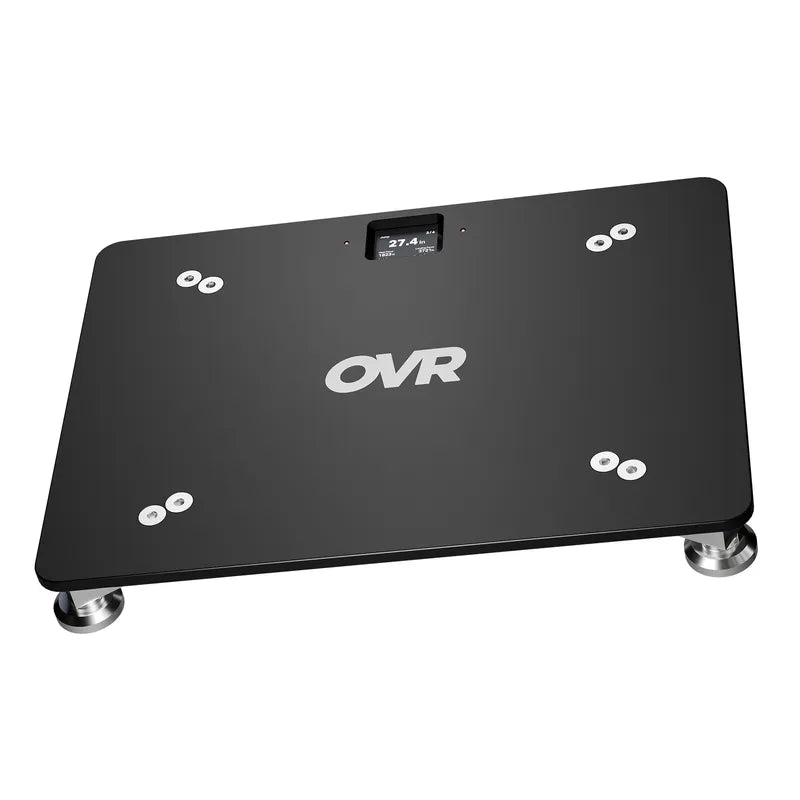


OVR Force Metrics
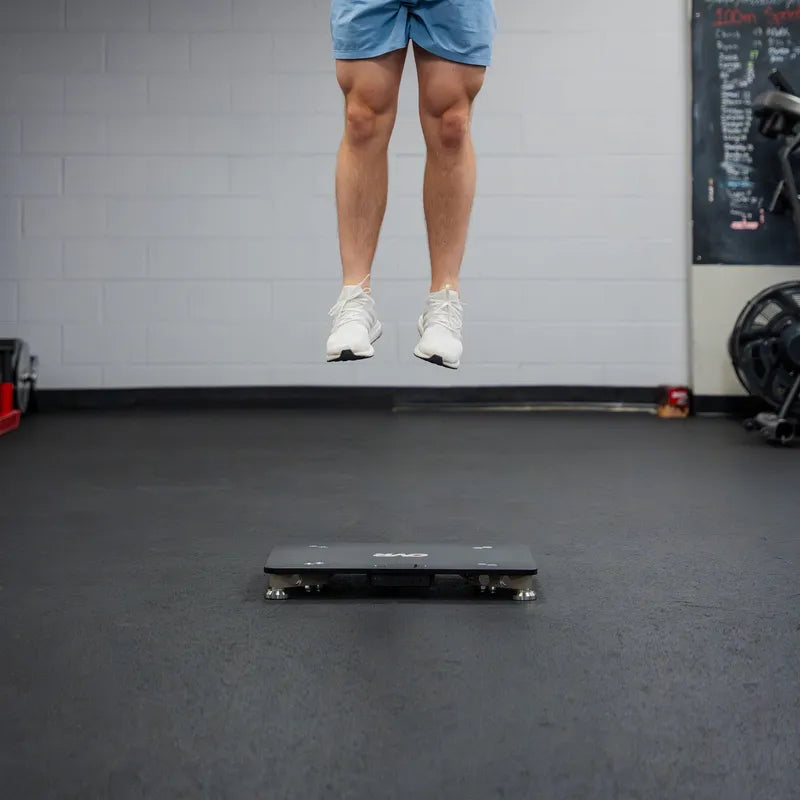
Jump Mode
CMJ, drop jump, RSI hops, and moreHow high your center of mass rises from a flat standing position. Measured from takeoff velocity, with a flight-time fallback when needed. Includes plantar flexion.
Jump height divided by time to takeoff. A single read on countermovement-jump efficiency.
Duration from your first dip to your feet leaving the plate. Shorter means a faster jump strategy.
How far you drop into the countermovement. It describes the athlete's jump strategy.
Your detected body weight prior to the jump. The value behind other relative metrics.
Jump height divided by ground contact time. The reactive-strength headline for drop jumps and repeated hops.
The most force you produce decelerating the countermovement, as you reverse from dropping to pushing.
How fast you produce force in the braking phase. Higher means more elastic energy returned.
Left-to-right asymmetry in the braking phase. The period that catches limb deficits earliest.
The most force you apply during the propulsive phase. Your raw force ceiling in the jump.
Force applied across the whole propulsive phase. The strongest mechanical predictor of jump height.
Left-to-right asymmetry in the propulsive phase. Less telling than braking asymmetry for jump asymmetries.
How long your feet contact the ground in a drop jump or hop. Shorter contact at the same height means more reactive strength.
How fast your center of mass is moving as your feet leave the plate. A direct input to jump height.
Peak braking force as a multiple of bodyweight. Normalizes deceleration force across athlete sizes.
Force at the very bottom of the dip, where you stop dropping and start moving upwards.
The highest power output during the propulsive phase in watts.
Peak propulsive force as a multiple of bodyweight. Normalizes propulsive force across athlete sizes.
Propulsive power per kilogram of bodyweight. The standard way to compare power across athletes.
The highest force at landing impact. Higher means more impact loading on landing.
Left-to-right asymmetry at landing.
Force Mode
Mid-thigh pull, isometric squat, calf isoThe most force you produce above bodyweight. The most reliable number in maximal-strength testing.
Average net force across the rep. Useful for sustained-effort tests.
Peak total force, including bodyweight. Used for Dynamic Strength Index math.
Average total force across the rep, including bodyweight.
Peak force per kilo of bodyweight. A stronger performance predictor that normalizes across different athlete sizes.
The fastest force production over any 50 ms of the effort. How quickly you can create force.
Force produced 100 ms after onset.
Force produced 200 ms after onset.
Left-to-right force asymmetry during the rep, shown with direction. Dual plates only.
How long it takes to reach peak force. Flags whether you are force-limited or slow to express strength.
How long the rep lasts.
Net force multiplied by time across the whole rep. The total force-time work.
Your detected weight at the moment of the rep. The value behind relative metrics.
Free Mode
Shoulder IR/ER, glute bridge, hamstring isometricsThe peak force in the rep. The universal headline for any single-joint isometric test.
Average force across the rep.
The fastest rate of force production during the rep.
Force produced 100 ms after onset.
Force produced 200 ms after onset.
Left-to-right force asymmetry during the rep, shown with direction. Dual plates only.
How long to reach your peak force.
How long the rep lasts.
Force multiplied by time across the whole rep. The total force-time work.

Check out OVR Force
Validated against the gold standard, a screen on the plate, and no subscription. Run it next to whatever you use now, and if it does not hold up within 60 days, send it back.