


After a one-sided injury, the hurt leg comes back slower than the healthy one. Asymmetry is the cleanest way to see that gap, and it is the backbone of nearly every return-to-play decision in the literature. Force plates measure it directly, limb by limb and phase by phase, in a single jump. If you are clearing an athlete to return, asymmetry is the most useful number you can put in front of yourself.
Why asymmetry is the signal that matters in return to play
A unilateral injury creates a unilateral problem. The cleanest way to track it is to compare the athlete's two legs and watch the gap close over time. That comparison, usually called the limb symmetry index (LSI), is the spine of criterion-based return to play, and the evidence behind it is strong.
Assymetry can predict potential for reinjury. Grindem's Delaware-Oslo cohort found that meeting a hop battery at 90% symmetry before return was part of what lowered reinjury risk. Kyritsis reported roughly four times the graft-rupture risk in athletes who returned with quad symmetry still under their threshold. Paterno tied asymmetric landing mechanics directly to a second ACL injury. Across injuries, the size of the gap between an athlete's legs is one of the most reliable warning signs we have.
It is also the gate. Open almost any published return-to-play protocol, for ACL, hamstring, Achilles, ankle, or patellar tendon, and you will find an LSI threshold (commonly 90% or higher) standing between one phase and the next. Asymmetry is the criterion the plan is built around.
Single-leg testing shows what bilateral jumps hide
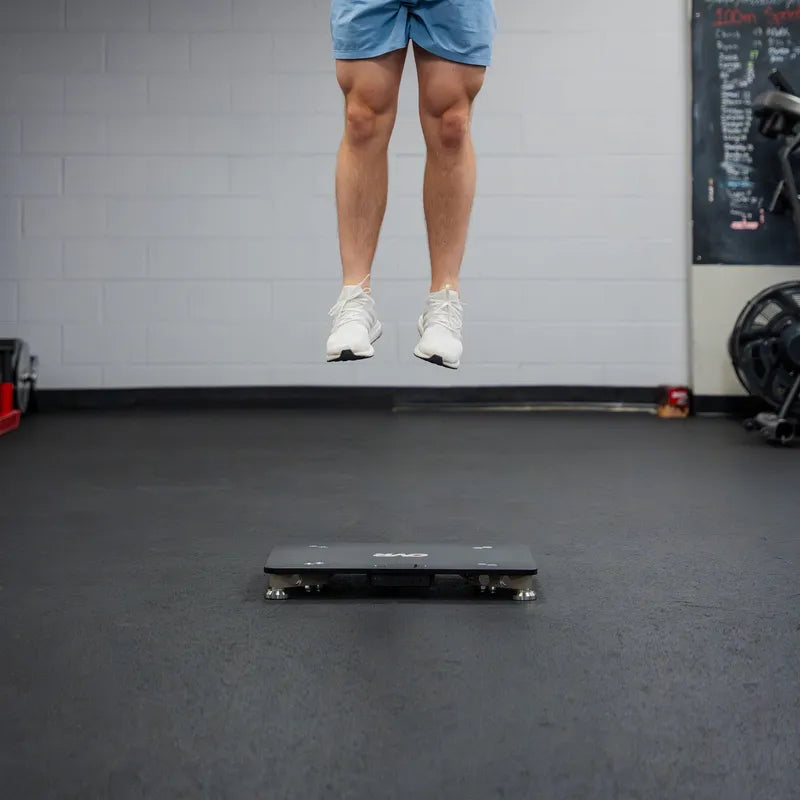
A two-leg jump lets the athlete quietly shift load onto the stronger leg, so jump height can look fine while the injured side does less work. Single-leg testing closes that door and forces each limb to stand on its own. The test you choose changes the verdict too: in NCAA Division I athletes after ACL surgery, a single-leg vertical hop exposed more asymmetry than a horizontal hop. Use the bilateral jump for quick weekly monitoring, and the single-leg battery when you want the true limb-by-limb picture.
Read where the asymmetry lives
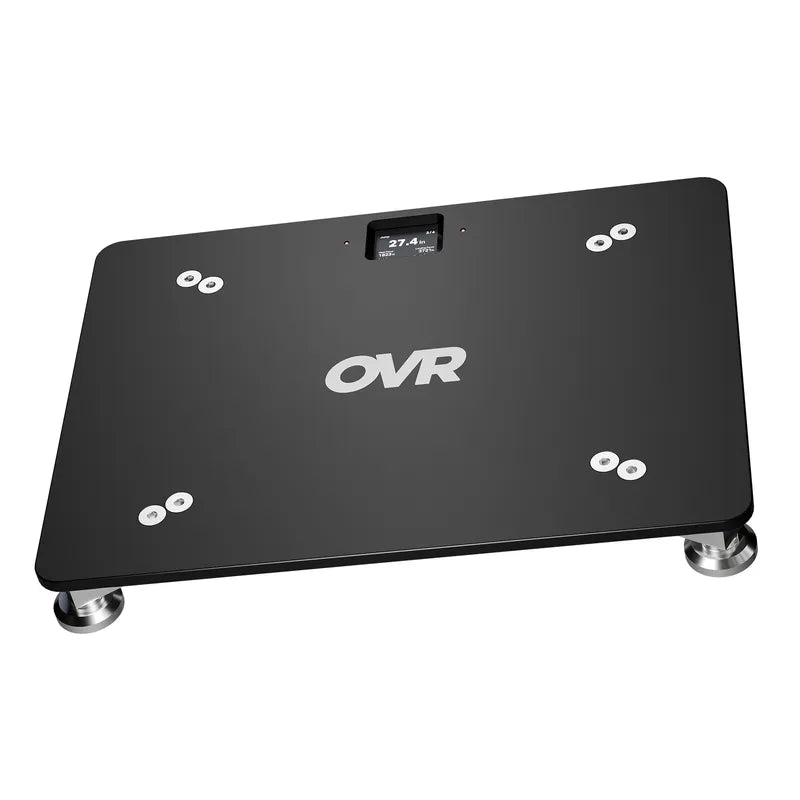
A dual force plate shows this directly. The phase the gap sits in tells you what to train. Two athletes can both show a 12% asymmetry and need opposite programs, because the direction and location of the gap matter as much as its size. The braking phase is force absorption (the way down), the propulsive phase is force production (the way up), and landing is its own quality. Dual force plates capture the force coming through each leg in the same jump, so you can read every phase without running separate tests. A single plate cannot, which makes assymetry at the heart of the single-versus-dual-plate decision.
That detail matters because braking and landing deficits often persist after jump height has already normalized. The athlete looks recovered on the headline number while the leg is still absorbing force poorly. Reading the phases is how you catch it.
Among the three phases, braking asymmetry is the one to lead with. Deceleration is usually the first quality a returning athlete protects, so a gap tends to show up in the braking phase before it reaches propulsion or landing. That makes it the most sensitive single read during a return, worth tracking even when jump height and propulsive output already look even. A leg can produce force evenly on the way up and still absorb it unevenly on the way down, and that uneven absorption is what keeps showing up in athletes who are not as ready as their jump height suggests. If you follow only one asymmetry number through a return, follow braking.
As a practical starting point, treat 0 to 10% braking asymmetry as on track, 10 to 15% as worth a closer look, and above 15% as worth a deeper look. Use these as screening zones to guide where you point your attention, and let the treating clinician own the final clearance.
A force plate asymmetry workflow without a lab
Build the testing battery around the athlete's healing and clearance timeline, and keep it inside whatever the medical and rehab team has cleared. Early on, isometric tests like the mid-thigh pull or single-leg isometrics fit best, since peak force is usually the first quality to return and they load the leg without impact. Bring in the bilateral CMJ once the athlete is cleared to jump, the single-leg CMJ once you want a limb-by-limb read, and single-leg or repeated hops later, after jumping and landing have been cleared.
For a reference point, a pre-injury baseline on that same athlete is ideal, since the uninjured limb can lose strength during rehab and make the comparison look better than it is. Without one, the uninjured limb is the next best option, with published norms as a fallback. Keep conditions consistent and take a few trials rather than one, using the average, so a single odd rep does not look like a real change. You are watching the trend over time, so give a sudden spike a chance to repeat before acting on it.
Make asymmetry the engine of the return-to-play decision
Asymmetry drives the decision, and it works best alongside the other inputs that matter on their own: leg strength, hop tests, landing quality, the athlete's confidence to return, and time itself. Even a complete criteria battery leaves some reinjury risk. Read them together, target the deficit the test identifies, and rebuild qualities in order: peak force first, then braking and propulsive, then reactive and landing last. A propulsive deficit calls for unilateral work biased to the weak limb. A braking deficit calls for eccentric-emphasis work. A landing-strategy problem calls for motor-control work. Re-test to confirm the deficit actually moved, and the same logic carries across athletic profile testing.
Used this way, the symmetry number also becomes highly motivating. A rehabbing athlete may not feel a 6% braking deficit, but they can watch the gap shrink session over session, and so can the staff making the call. Because the test takes seconds and costs nothing to repeat, you can run it as often as the plan needs and let the trend tell the story. Few return-to-play measures double as a clearance criterion and a week-to-week progress meter the athlete actually buys into.
Asymmetry tells you where the athlete stands, what to train, and whether it is working. In return to play, there are very few numbers that do all three.
Sources
- Grindem et al. 2016 (BJSM, Delaware-Oslo): https://pmc.ncbi.nlm.nih.gov/articles/PMC4912389/
- Kyritsis et al. 2016 (BJSM): https://bjsm.bmj.com/content/50/15/946
- Paterno et al. 2010 (Am J Sports Med): https://pubmed.ncbi.nlm.nih.gov/20702858/
- Paterno et al. 2022 (J Athletic Training): https://pmc.ncbi.nlm.nih.gov/articles/PMC9842113/
- Wellsandt, Failla, Snyder-Mackler 2017 (JOSPT): https://www.jospt.org/doi/10.2519/jospt.2017.7285
- Bishop et al. "Magnitude or Direction?" (PubMed 32149878): https://pubmed.ncbi.nlm.nih.gov/32149878/
- Eccentric/concentric force after ACLR (PMC12398032): https://pmc.ncbi.nlm.nih.gov/articles/PMC12398032/
- Single-leg vertical vs horizontal hop, NCAA D1 ACLR (IJSPT): https://pmc.ncbi.nlm.nih.gov/articles/PMC8637251/
- Normative data + unilateral hopping for RTP (J Athletic Training): https://pmc.ncbi.nlm.nih.gov/articles/PMC7384471/
- Psychological readiness in RTS after ACLR (PMC8020301): https://pmc.ncbi.nlm.nih.gov/articles/PMC8020301/


