


You want a true max-strength number for a team without programming a 1RM into a busy week. The isometric mid-thigh pull gives you that: an athlete drives maximally against a fixed bar for three to five seconds, the plate records the force, and you walk away with a strength reading that took no skill rehearsal and minimal fatigue behind. It is the most-used maximal-strength test in sport science for exactly that reason. The catch is that the IMTP is only useful if it repeats, and most of the work that makes it repeat happens in the setup, not the pull. Force plate testing rewards a clean position and punishes a sloppy one, and the difference shows up the second time you test the same athlete.
An IMTP gives you several numbers, but the one you track for decisions is net peak force. Everything below is about setting the test up so that number repeats.
What the IMTP actually tells you
The IMTP measures your athlete's strength ceiling: the maximum force their whole body can produce in a strong, upright pulling position, with nothing dynamic about it. They are not moving the bar. They pull up against it as hard as they can, that effort drives down through their feet into the plate, and the plate reads the force. That is the headline value of the test for a coach. You get a maximal-strength number without loading a barbell to failure and without the fatigue cost of a true 1RM.
It is low-fatigue, low-skill, and quick, which is why it survives an in-season schedule and a 90-second-per-athlete testing line. A high school program running large groups of athletes through a session can get a defensible strength reading on every one of them without burning a training day. A returning athlete cleared for loaded work can be screened with less risk of re-injury.
Understand the limit clearly, though. The IMTP reads the strength ceiling, not plyometric output. Line it up against other tests and the pattern holds: peak force correlates well with a maximal-strength benchmark like a 1RM power clean, but only weakly and inconsistently with countermovement or squat jump height. It tracks the force an athlete drives into the ground, not how high they turn it into a jump. So an athlete can post a big IMTP and a mediocre jump, and that gap is information, not a contradiction. That is why it reads best next to jump and sprint data rather than on its own.
Set the position so it repeats
Reliability does not come from one universal correct angle. It comes from standardizing one position per athlete and reusing it every session. Two well-regarded studies disagree on the exact bar height that gives the most reliable number, and arguing that fight is a waste of a coach's time. Pick one mid-thigh position, set it cleanly for each athlete, write it down, and the consistency is what makes it reliable.
Start with the bar fixed at mid-thigh, the point on the thigh midway between the hip and the kneecap, with the athlete standing tall and upright. That is individualized per athlete, not a universal bar height. Set the knee angle to roughly 130 degrees and the hip angle to roughly 145 degrees. Anywhere in 125 to 135 at the knee and 140 to 150 at the hip is acceptable, but pick the athlete's number once and hold it. Feet are hip-width, directly under the bar, centered on the plate. Use lifting straps so grip never becomes the limiter on a leg-driven test.
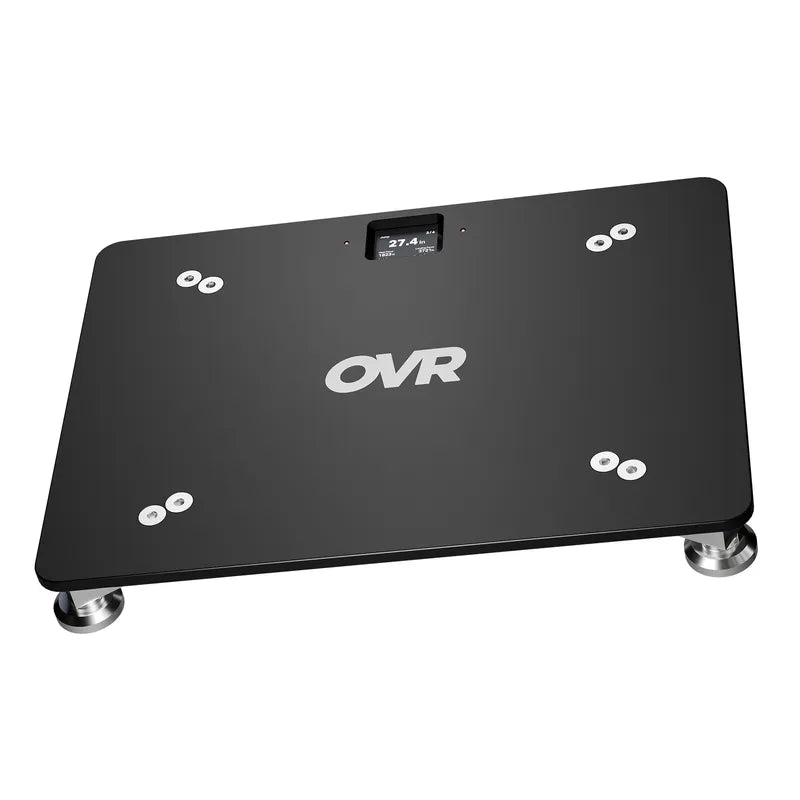
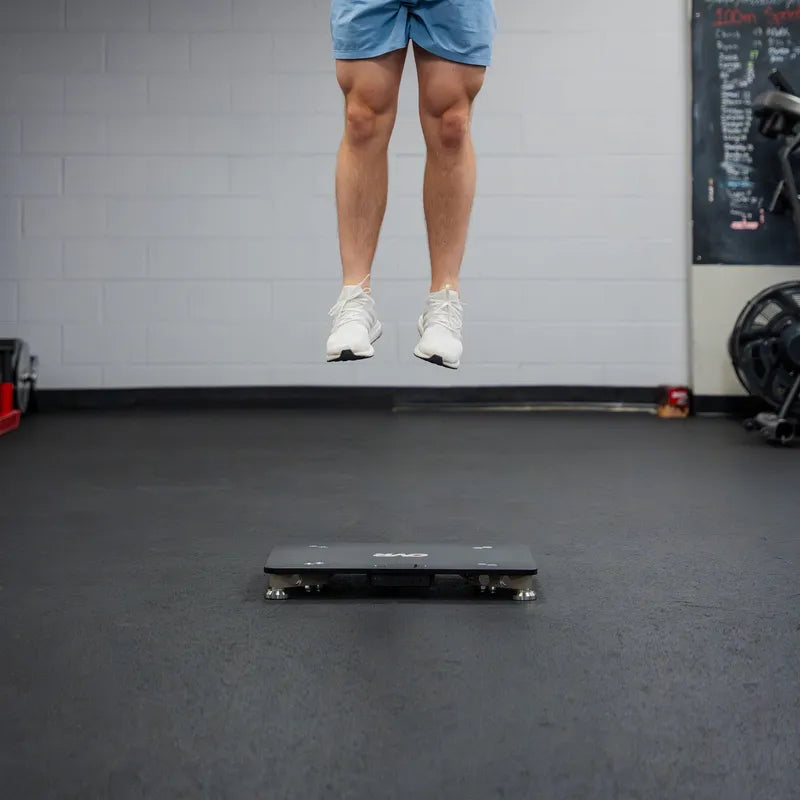
Record the position the first time so the re-test is the same test. Note the bar height in the rack, and store it next to the athlete's name. A portable system like OVR Force makes this practical for a team because the plate moves to the athlete. It is quick to set up and run the test, but maintaining consistent positioning is on you regardless of the hardware.
Run the pull
Get the athlete tall and settled before anything fires. Arms straight, minimal tension on the bar, body quiet, taking the slack out without pre-loading. You want a flat, quiet baseline on the plate before the rep starts.
Wait for the green ready signal, then call it: "3, 2, 1, pull." The cue to the athlete is the same every time: pull as hard as you can, as fast as you can, and keep pulling until I say stop. They drive maximally for about three to five seconds.
Run two warmup pulls first, one at roughly 50 percent effort and one at 75, to prime the pattern and settle the position. Then three maximal reps with sufficient rest between them, and take the best rep.
Kill the bad trials in real time
This is where most field testing goes wrong, and it is the part nobody notes. A bad rep that lands in your average quietly ruins the number. Watch the live force trace and the athlete together, and void a rep the moment you see one of these:
- A dip or countermovement before the pull. The unweighting shows as a downward blip before the rise and inflates the early-phase force.
- A jerk or yank at onset instead of a hard, building drive. That is snatching at a number, not producing force.
- The bar at the wrong height. Catch it before the rep, not after.
- An early release before you call stop, which clips the peak.
Then check that your three best reps agree. The reliability literature uses a rough 250 N band: reps more than about 250 N apart mean one was submaximal. For lighter, higher-variability athletes, use about 15 percent instead, since 250 N is a bigger share of a smaller pull. If they do not agree, one was junk, so add a single extra pull rather than average the bad rep in. If they agree, the athlete found a true max, and that real-time call is the whole point of watching.
Read the number without fooling yourself
Track net peak force for your decisions. The word net matters here: OVR reports force above the athlete's bodyweight baseline, not gross force including it, and net versus gross is so inconsistently reported in the research that studies of similar athletes have landed nearly 200 percent apart on peak force from methodology alone. That is a cross-study mess, not something wrong with your own number, but it is why a borrowed benchmark can mislead you. Net peak force is also the single most reliable thing the IMTP produces, with test-retest reliability sitting near the top of the range and trial-to-trial variation typically inside a few percent.
Use relative peak force, force divided by bodyweight, when you compare athletes to each other. A 3000 N pull from a 75 kg guard and a 3000 N pull from a 110 kg lineman are not the same accomplishment, and the per-bodyweight number puts them on the same scale. Force at 100 milliseconds is your early-phase read, the neural-drive-dominated portion of the curve that reflects how quickly force comes on rather than how high it ends up. It is a different quality than net peak force and worth recording as a second line.
Be honest about RFD. Rate of force development across the 0 to 200 ms window is noisy. It carries far lower reliability than peak force and is heavily dependent on consistent methodology and a familiar athlete who pulls the same way every time. It also leans on how fast the plate samples, since RFD lives in the first part of the curve and a slow plate can blur it. Read it as a directional explosive signal on an athlete you know well, not as a precise number you monitor session to session. If RFD and net peak force disagree, trust peak force.
Be careful which norms you compare against. Most published IMTP numbers mix net and gross peak force across studies, so those cross-study tables are not comparable, and a benchmark only helps if it is net-based and matched to how you test. Your own within-athlete trend is still the most reliable comparison. If you want rough orientation, a collegiate male's net relative peak force usually lands somewhere in the 2.0 to 3.4 times bodyweight range, with collegiate females a bit lower. Treat those as ballpark only, and note they are net figures. A lot of the bigger multipliers you will see quoted online (4x, 5x bodyweight) are gross numbers or strength-sport athletes, so a coach who records net and compares against a gross benchmark will label most athletes as weak.
Pair the IMTP with a countermovement jump and the two turn into one decision through the dynamic strength index, jump force over pull force. A low DSI, roughly under 0.6, means the athlete is strong but cannot express it dynamically, so the program biases toward ballistic and plyometric work. A high DSI means the jump is outrunning a modest strength base, so the bias flips toward max strength. Computing DSI cleanly has a net-versus-gross wrinkle worth its own walkthrough, but the move from a strength number to a Monday decision is the same logic behind reading power versus strength in a program.
Make the re-test match the first test
The number is only as trustworthy as the setup behind it, so build a small repeatability SOP and run it the same way every time. Record the bar height, use the identical cue, and reuse all of it the next time that athlete pulls. When the re-test position matches the original, a change in net peak force is a real change in the athlete. When it does not, you are comparing two different tests and calling it progress.
That discipline is the whole reason the IMTP is worth running. Done loosely, it produces a number that drifts with your setup and tells you nothing. Done with a fixed position, real-time trial vetting, and within-athlete tracking, it gives you a clean read on whether your strength work is actually raising the ceiling, without a single maxed-out barbell. Set it once, hold it every session, and let the number drive the call.
Sources
- Comfort, Dos'Santos, Beckham, Stone, Guppy, Haff (2019), S&C Journal: https://journals.lww.com/nsca-scj/fulltext/2019/04000/standardization_and_methodological_considerations.10.aspx
- Keogh, Collins, Warrington, Comyns (2020), J Human Kinetics: https://pmc.ncbi.nlm.nih.gov/articles/PMC7052723/
- Guppy, Brady, Kotani, Stone, Medic, Haff (2018), Sports (Basel): https://pmc.ncbi.nlm.nih.gov/articles/PMC6316399/
- Martin & Beckham (2020), J Funct Morphol Kinesiol: https://pmc.ncbi.nlm.nih.gov/articles/PMC7804886/
- Dos'Santos, Thomas, Comfort, McMahon, Jones (2017), Sports (Basel): https://pmc.ncbi.nlm.nih.gov/articles/PMC5968956/
- Maffiuletti et al. (2016), Eur J Appl Physiol: https://link.springer.com/article/10.1007/s00421-016-3346-6
- Bruno, Montoro-Bombu, Thapa, Sarmento (2025), Int J Sports Sci Coach (youth reliability): https://journals.sagepub.com/doi/10.1177/17479541251351840
- Sheppard, Chapman & Taylor (2011), J Aust Strength Cond (DSI origin, via Science for Sport): https://www.scienceforsport.com/dynamic-strength-index/
- PeerJ test-retest reliability of single IMTP: https://pmc.ncbi.nlm.nih.gov/articles/PMC11348909/
- Sports (MDPI) 9(1):4, reliable force-time metrics IMTP/CMJ: https://www.mdpi.com/2075-4663/9/1/4
- ACLR rehab IMTP peak force & symmetry: https://www.ncbi.nlm.nih.gov/pmc/articles/PMC11258044/
- Science for Sport, IMTP reference: https://www.scienceforsport.com/isometric-mid-thigh-pull-imtp/
- Science for Sport, DSI reference: https://www.scienceforsport.com/dynamic-strength-index/
- Driveline Baseball, IMTP strength testing (practitioner benchmarks): https://www.drivelinebaseball.com/2020/12/isometric-mid-thigh-pull-imtp-strength-testing/


